Now that we understand the board a bit, let's start to extend it.
Questions from last week?
Highlights from Saturday?
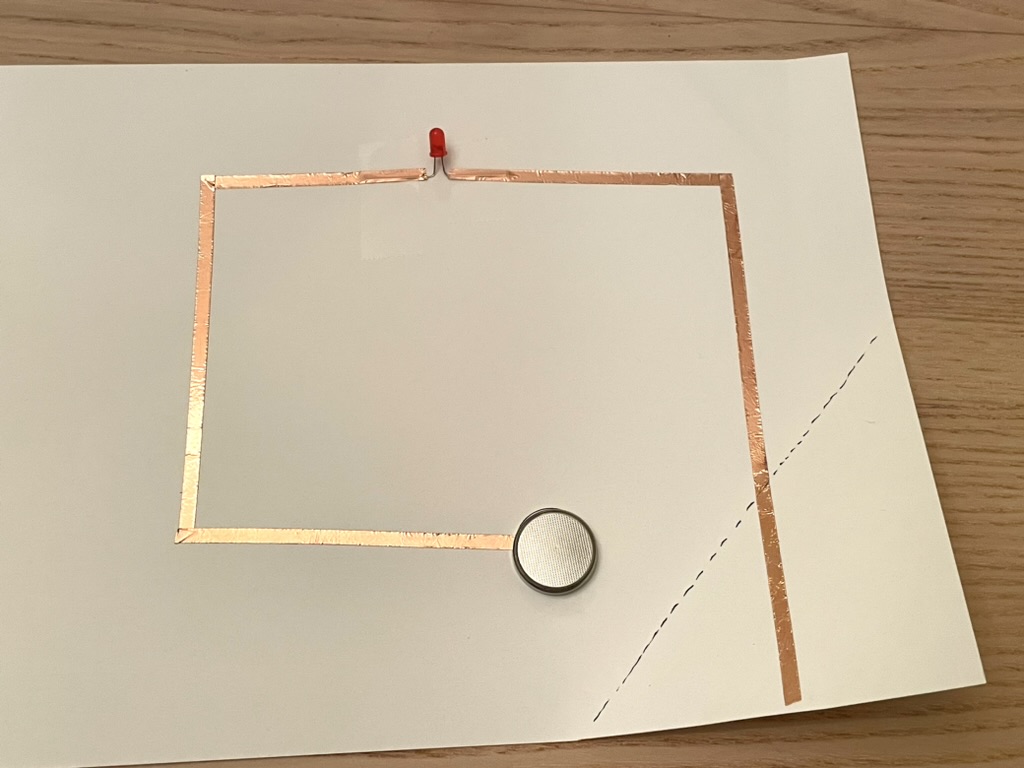
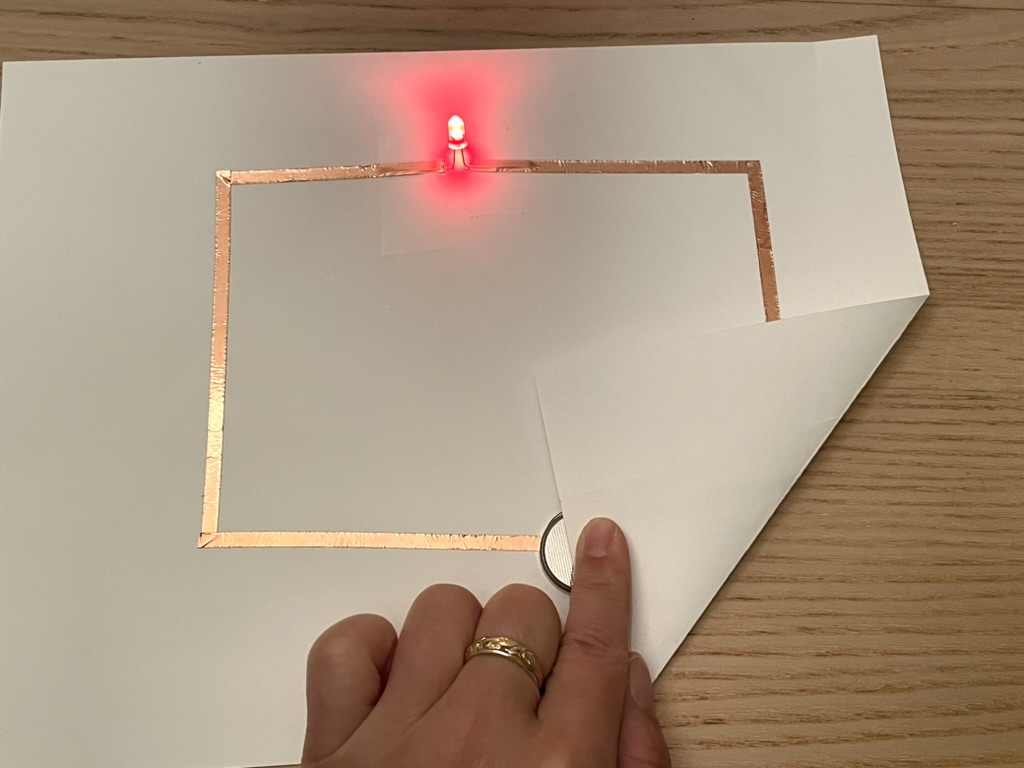
Make your "simplest circuit"
Make a slightly less simple circuit
Everything can be a switch
Can you make a novel switch or button?
Share what you made!
We can extend our microcontroller/board with circuit parts of our own.
First, let's load this onto our board
import digitalio
import board
import time
led = digitalio.DigitalInOut(board.D13)
led.switch_to_output()
button = digitalio.DigitalInOut(board.A1)
button.switch_to_input(pull=digitalio.Pull.DOWN)
while True:
if button.value: # button is pushed
led.value = True
else:
led.value = False
time.sleep(0.01)
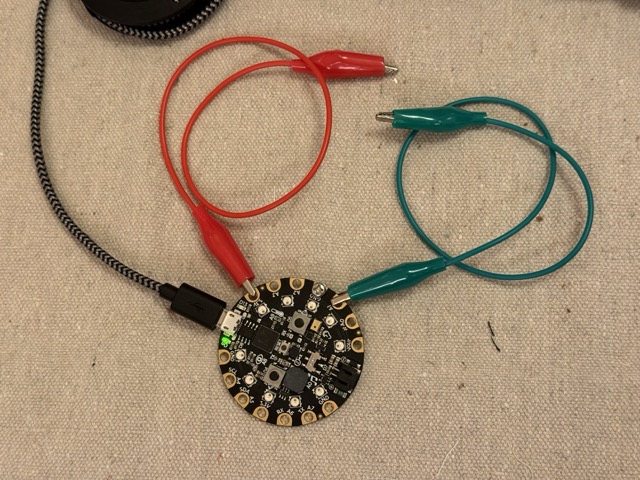
Connect one alligator cable to A1, and the other to 3.3v. This is ... a switch?
A sidebar on Pull.UP and Pull.DOWN ...
Pull-down
Pulling down the pin means your default value is LOW, or 0.
When you pull a pin DOWN, the other side of the button has to be attached to 3.3V (a positive terminal) to be evergized when the button connects.
When the button is pushed, the value goes high.
Pull-up
Pulling up the pin means your default value is HIGH, or 1.
When you pull a pin UP, the other side of the button has to be attached to GND (a negative terminal) to be grounded when the button connects.
When the button is pushed, the value goes low.
Try swapping Pull.DOWN to Pull.UP. What do you need to change to get the LED to turn on when the button is pushed?
Ok, go ahead and switch back to Pull.DOWN!
Let's swap those alligator cables for something with a sturdier connection.
We'll use M3 bolts & nuts to secure these wires.
Once you replace the alligator cables with these, test them out by touching them them together.
A switch or button can be anything that connects two parts of a conductive circuit.
So, let's get creative with this!
Make a novel button and hook it up to your board.
Can you make its form relate to its functionality? Can you make it functional, dysfunctional, or otherwise odd?
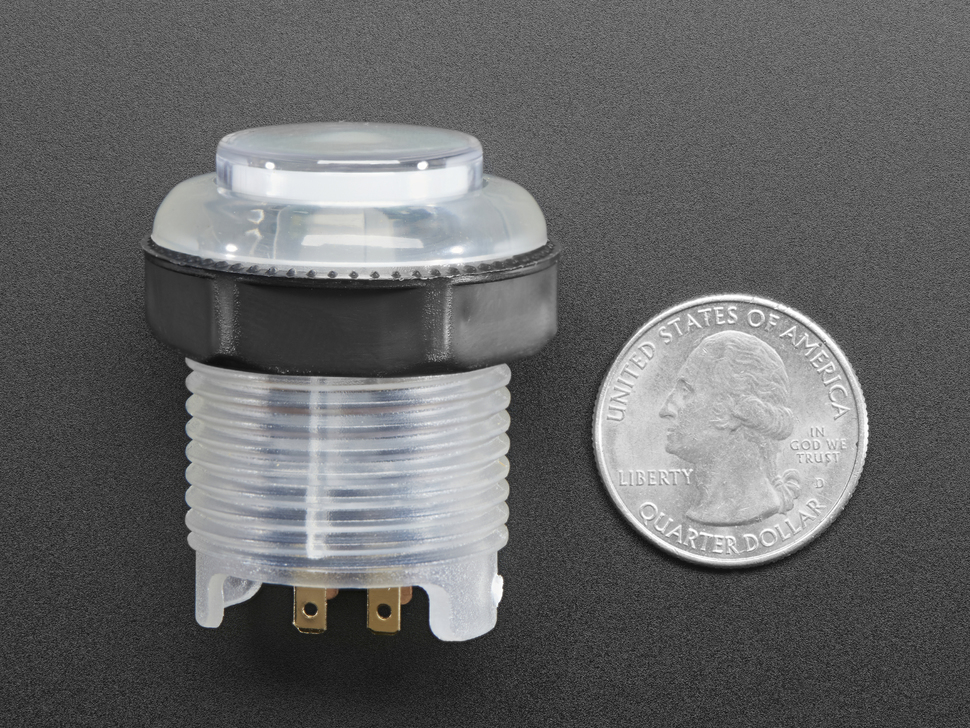
On an arcade button, you'll see 4 terminals at the bottom. On these buttons, the 2 attached to the gray square are the terminals connected to the actual button.
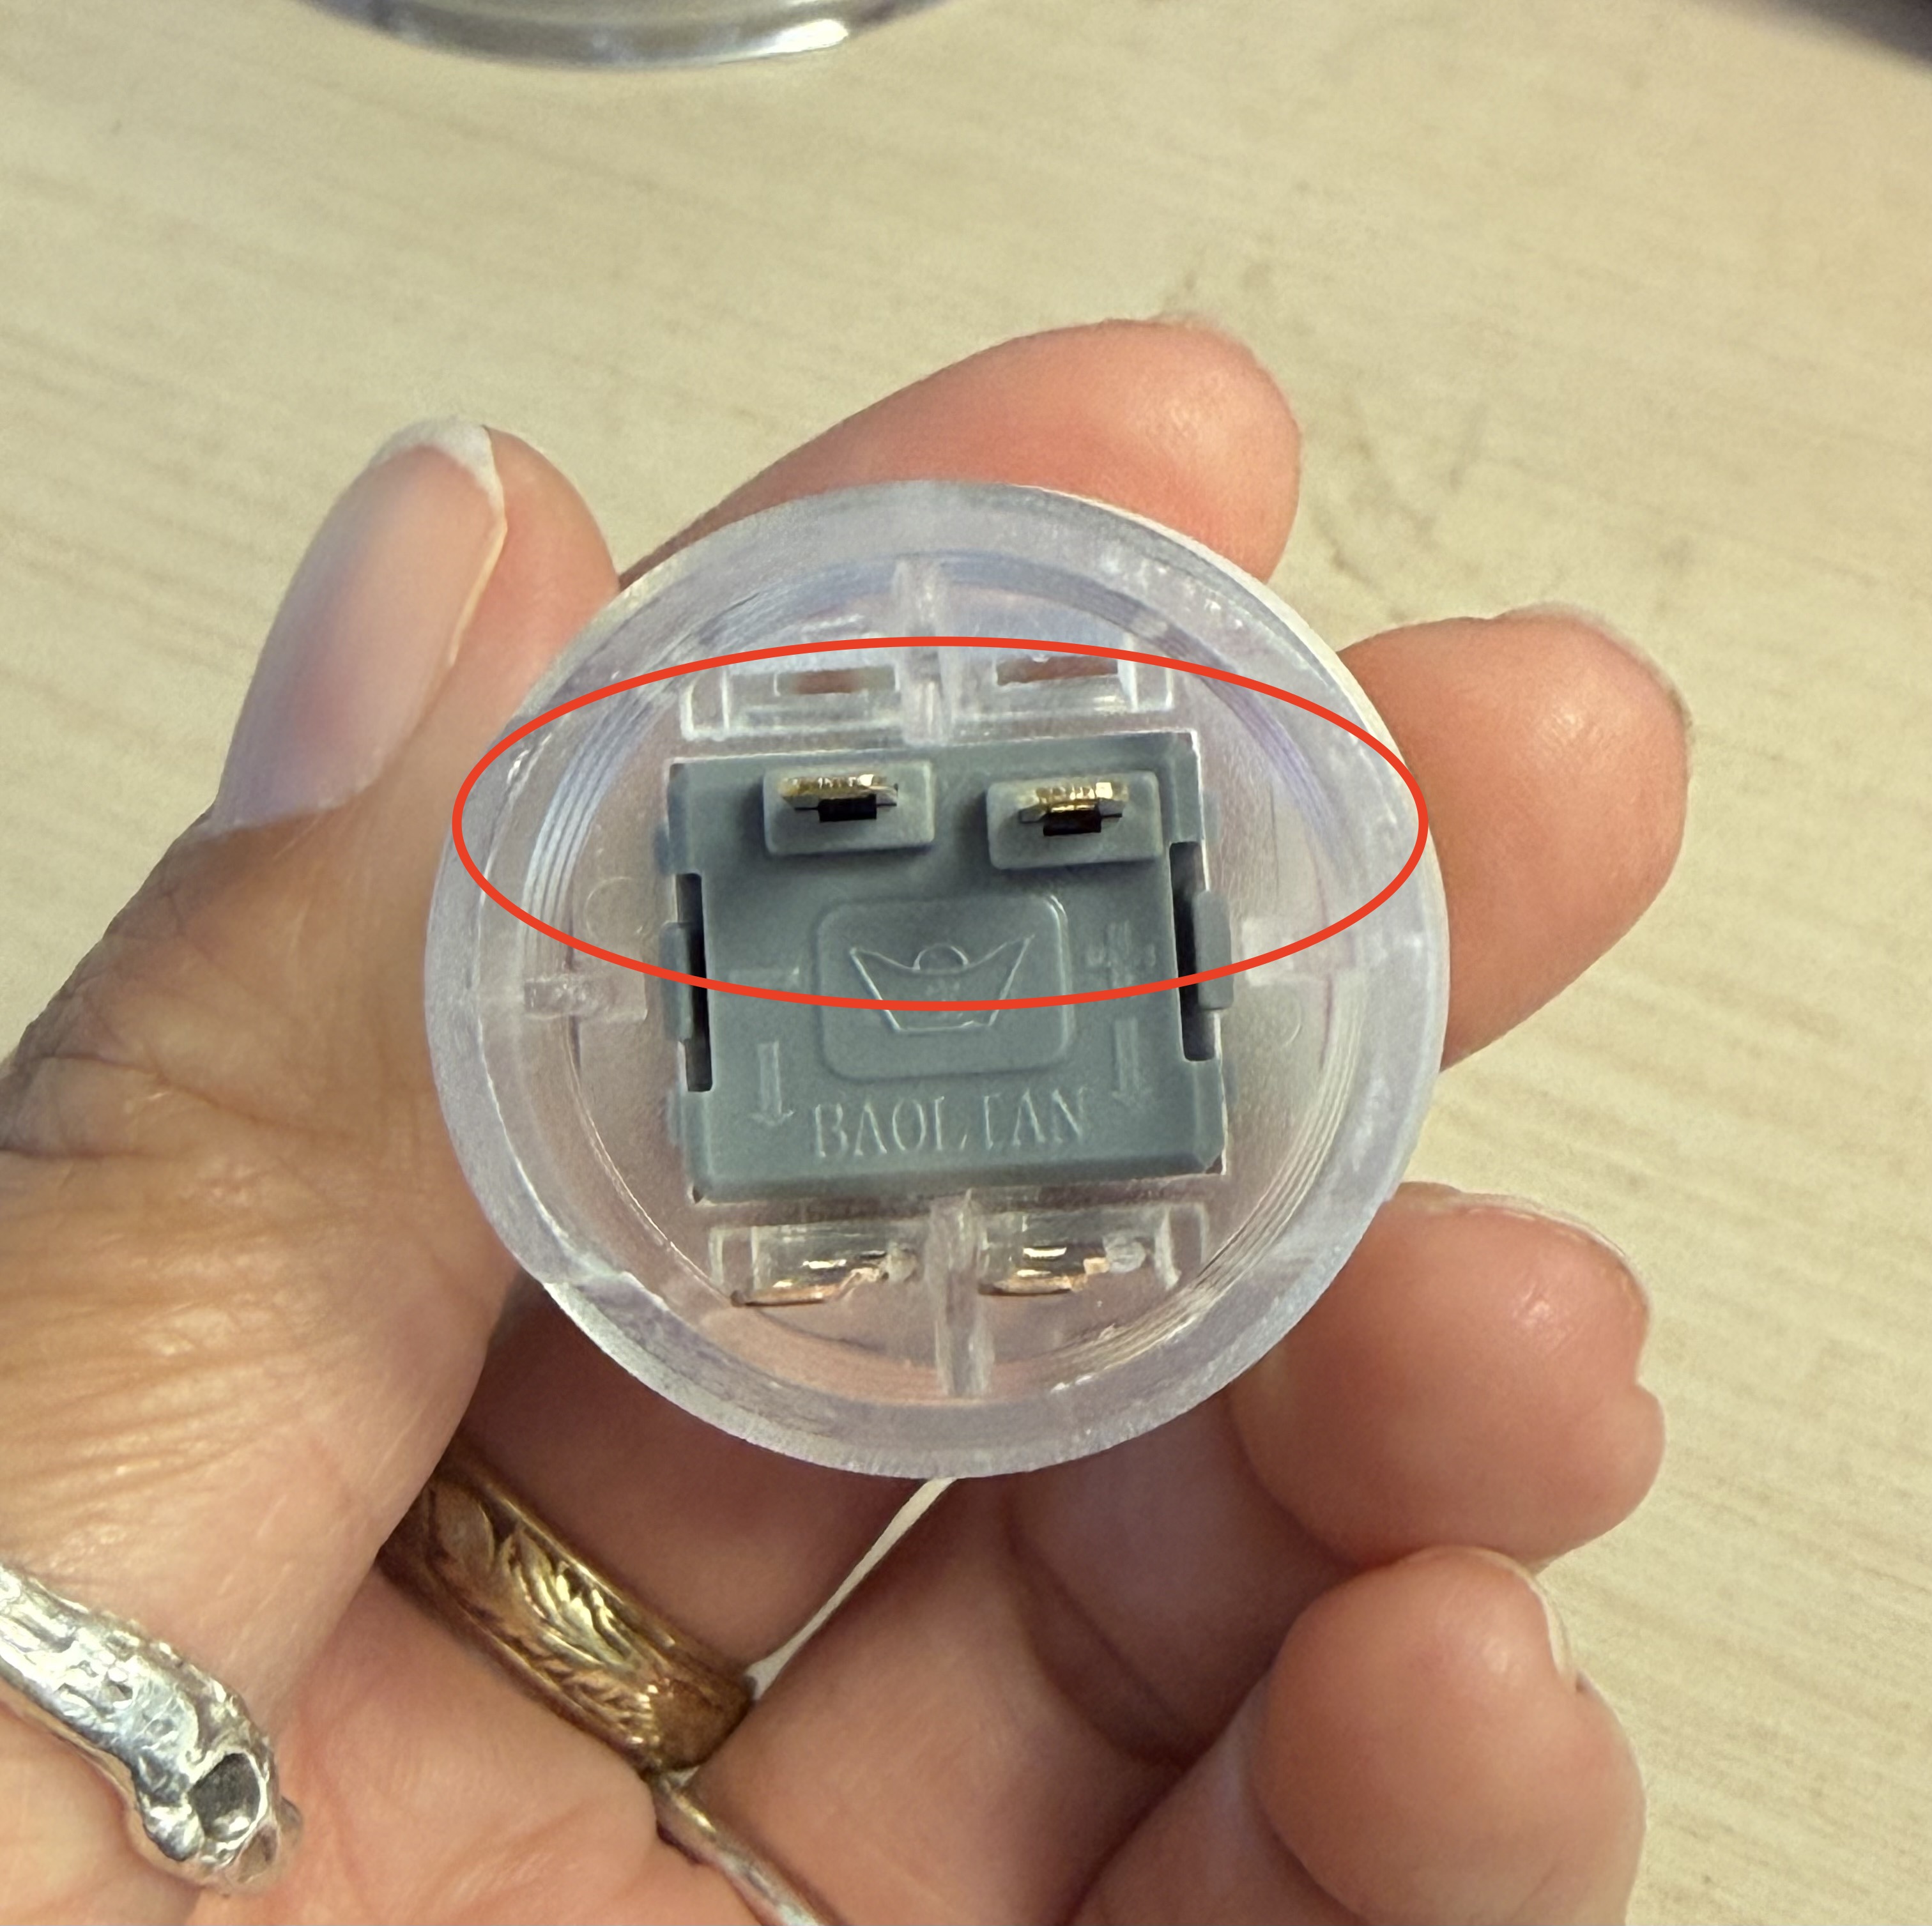
Connect one alligator clip to each of these terminals.
Using the same code this should work!
Attach:
One terminal → A1
Other terminal → 3.3V
How could we make this more permanent?
Solder Demo Time
First, prep your wires.
You'll need a pair of wire strippers, and 2 wires of different colors.
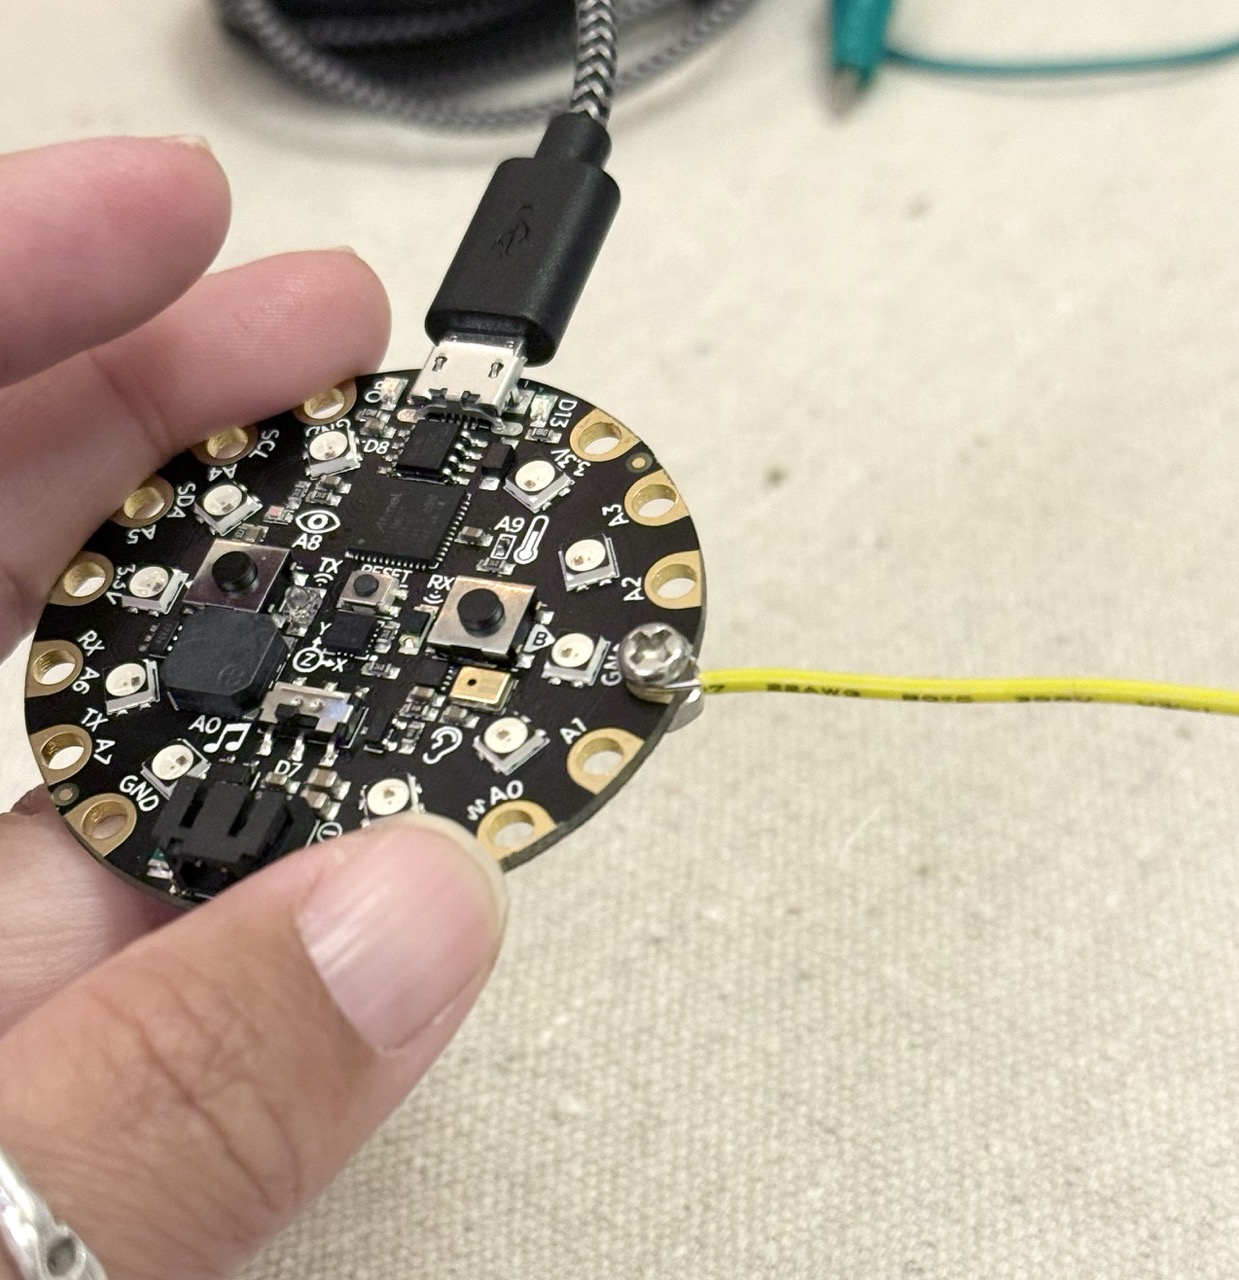
Soldering your two wires to these two connections:
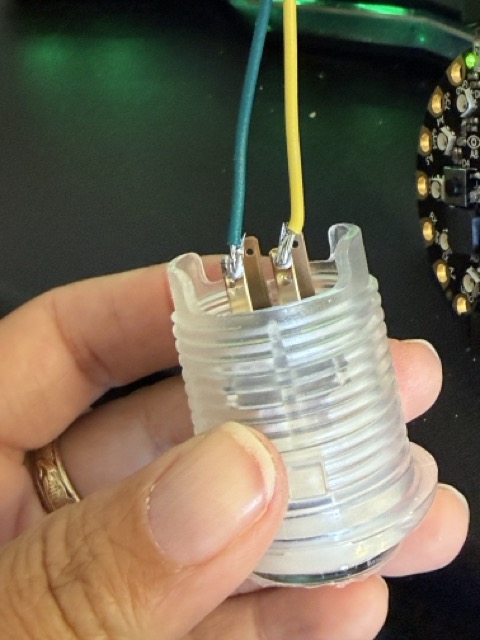
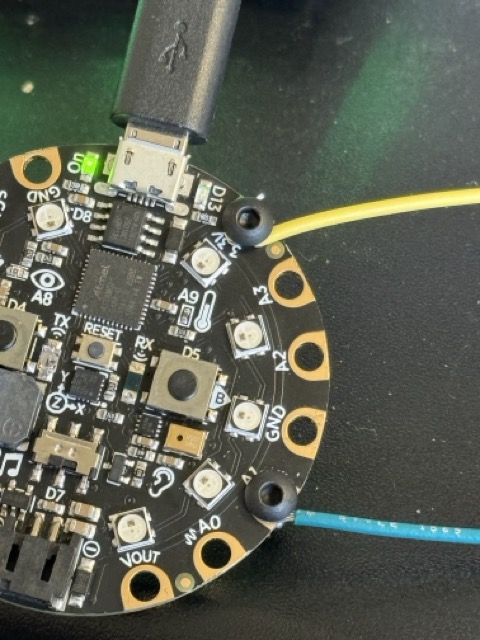
Now, connect these to A1 and 3.3V using M3 bolts.
Running the same code, the button should work!
What are these other pads?
These buttons have LEDs built-into them so that they can light up when you want them to.
Let's do the same thing: cut some wires, solder them to these terminals.
Attach the following using M3 screws
+ → A2
- → GND
import time
import board
import digitalio
BUTTON_PIN = board.A1
LED_PIN = board.A2
button = digitalio.DigitalInOut(BUTTON_PIN)
button.switch_to_input(pull=digitalio.Pull.DOWN)
led = digitalio.DigitalInOut(LED_PIN)
led.switch_to_output(value=False)
while True:
pressed = button.value
led.value = pressed
time.sleep(0.1)
Can you make this button turn the light on with a push, and off again with a push?
Go back to some code from last week, and use this button to control the neopixels.